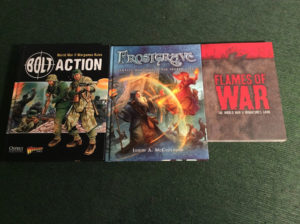
Recently, I got a game of Frostgrave in with my friend Dave. For this game, we used just the base rules from the core rule book. The mission that we chose to play was The Well of Dreams and Sorrows. The object of this scenario is to collect treasure, like most of the other missions, but there is a secondary objective to drink from a magical fountain to gain an extra level of experience.
Unfortunately for Dave, this game became a mission of trying to survive the attack of the Killer Giant!!! Will Dave earn the title of Giant Slayer? Read on to find out.
For Dave, this is his second game of Frostgrave and he does not yet own his own Warband. For this game, I lent him my Frostgrave Dwarfs. In an earlier post, I asked my readers which of the Dwarf Wizards Dave should choose for the game. Dave, along with most of those who commented on Facebook, chose to take the Enchanter / Sigilist Character with a large two-handed Warhammer.
Since this was Dave’s first game with this Wizard (and I have a level 9 Wizard) I leveled up Dave’s Character to level 7 to even out the tables. Dave didn’t want to be overwhelmed with plenty of in game spells for this match, so I gave the Wizard mostly out of game spells. Concept wise, this Wizard is a master of buffing up his allies’ stats and an entrepreneurial wizard capable of building and selling Magical Items with the best of them. His Wizard also happens to be a Melee Monster starting off with +5 fight (stat line of +4 with a +1 Magical Two-Handed Weapon).
For his Warband, Dave had two Large Constructs (both with Construct Oil), two Thugs (both with Grenade Potions), three Crossbow Men, one Knight, an Apprentice and a Wizard.
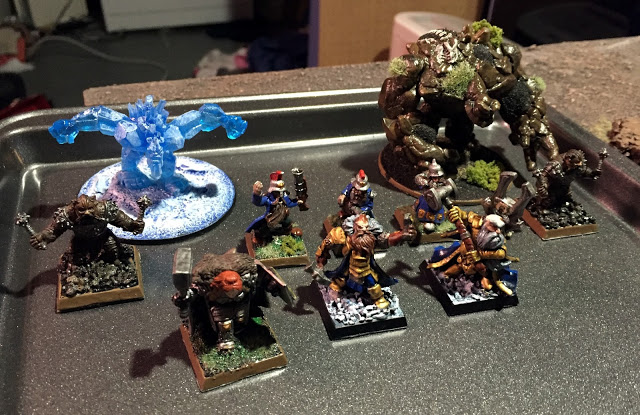 |
| Above is a picture of Dave’s Warband. For those wondering where the figures are from, the three dwarfs with guns are by RAFM Miniatures, the two thugs (with maces) and the knight (front left) are by Wizards of the Coast’s D&D line re-based to square bases and the rest of the models are all by Reaper Miniatures in their Bones Line. |
My Wizard is the same Necromancer that I used in my playthrough of The Hunt for the Golem. He carries two weapons and has been spending most of his money re-hiring dead henchmen and buying grimors to the specific spells that he wants to learn. His warband currently consists of two Rangers, one Marksman, two Treasure Hunters, one Templar (with Gloves of Strength) one Small Construct, one Zombie, one Captain (with Boots of Speed), one Apprentice and a Wizard.
 |
| Above is my Warband. The two figures in the back row are actually to represent the spell effect of Hideous Form. For those that want to know who manufactures these miniatures, the Hideous Creatures in the back row and the lady with two swords in the middle row are by Reaper Miniatures. The skeleton coming out of the ground (front left) counts as my small construct and is made by Mantic Games. The rest of the figures are all by North Star Military Figures. The plastic models were made with their Cultists Boxed Set. |
For this game, one of my two Treasure Hunters was actually unavailable due to a previous injury.
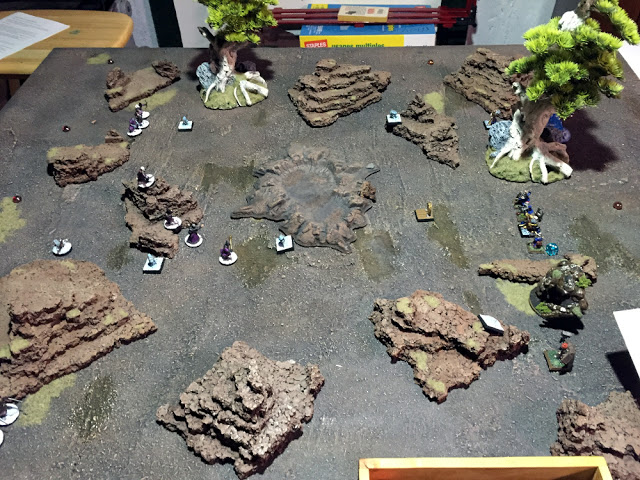
Below is how we set up the table. The crater in the centre is actually the Well of Dreams and Sorrows. Any Wizard that spends one action to drink from it gets 100 extra experience points. Anyone that falls in dies. A tempting but potentially deadly objective. The other treasures are circled in red.
 |
| Above is how the table was set up for this engagement. The crater in the middle is the Well of Dreams and Sorrows. The treasures are circled in red. Dave got to choose the side and went with the right-hand side of the map for deployment. |
After deployment, I won initiative and moved my Wizard towards the well. To protect him, I cast Fog, but the spell failed to materialize.
 |
| This is the table after my Wizard’s first move. My goal was to drink from the fountain as quick as possible and get out. Dave’s goal was to get the treasures off his side of the table and go from there. |
At this time, I was extremely nervous because Dave had three Crossbowmen lined up directly across from my Wizard and my Fog spell failed to go off. Lucky for me, the Dwarfs chose to pick on one of my Henchmen instead of my Wizard. They failed to cause any real Damage. As our guys picked up treasures, the game took a drastic turn for the worse (for Dave that is). On the left side of the table, a Zombie appeared behind my wizard’s group. Meanwhile, a Giant appears in Dave’s deployment Zone.
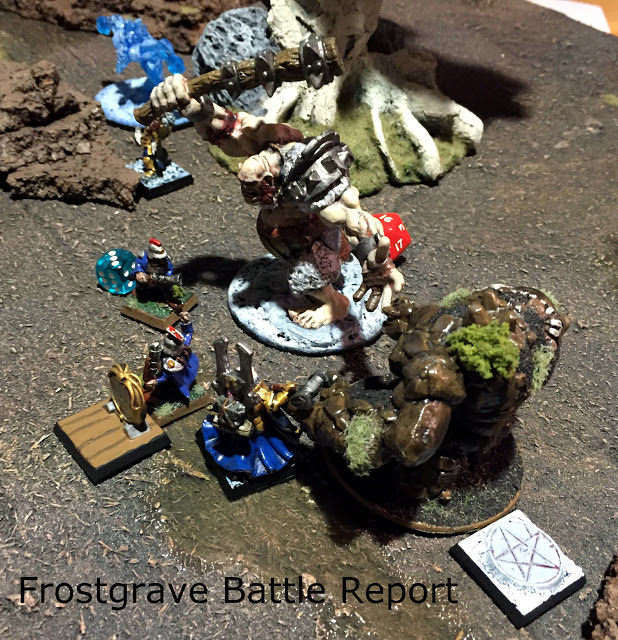
Below is how the table looked at the end of my Wizard’s activation. My Wizard successfully casts Control Undead on the Zombie and then moves to the edge of the Well of Dreams and Sorrows. As an observant reader may notice, Giant managed to reach the Dwarf carrying a treasure, but did not have enough actions to initiate a battle. From this point forward, Dave’s objective simply became surviving the might of a rampaging Giant.
 |
| That Giant is now in base contact with one of Dave’s treasure carriers. Meanwhile, my Wizard is at the Fountain and my Templar is guarding him to prevent any enemies from pushing him into the well. |
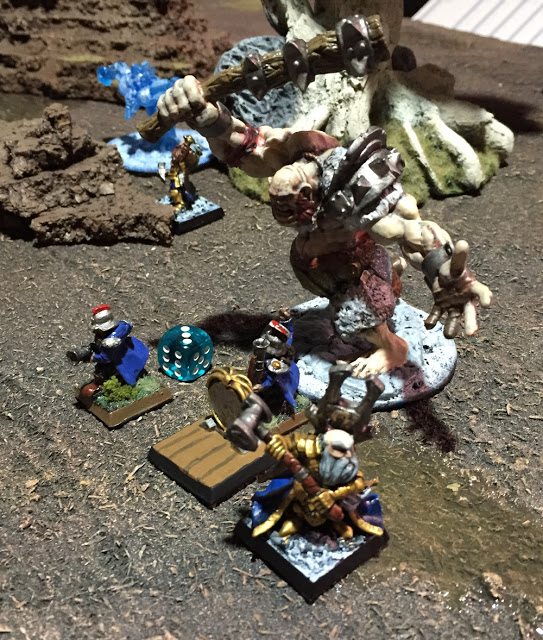 |
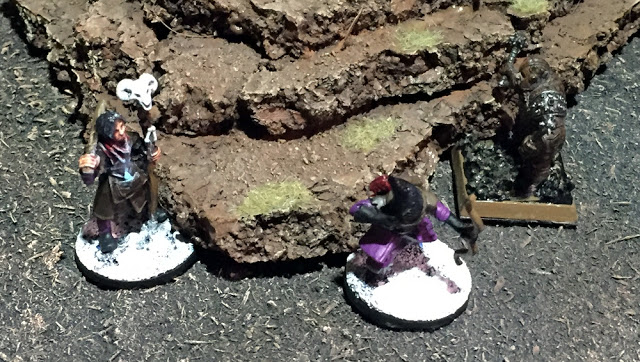
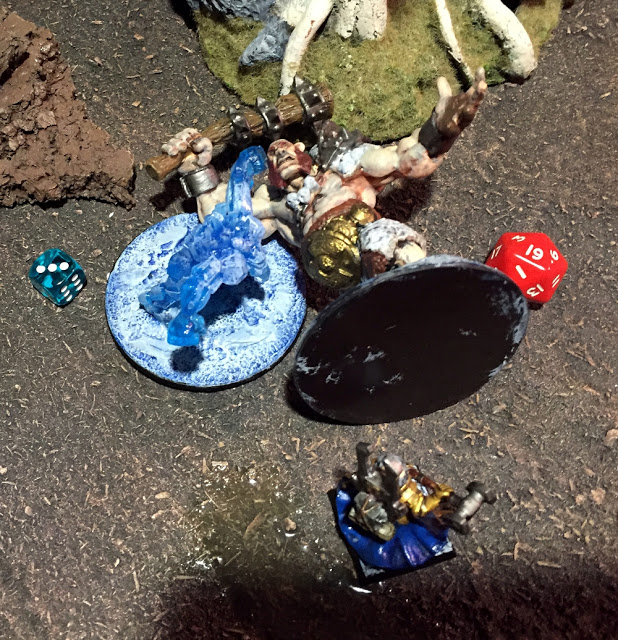
| A close up of Dave’s new situation. That is his Wizard with two Crossbowmen. One is in contact with the Giant. The Giant is a Reaper Bones model for anyone wondering. |
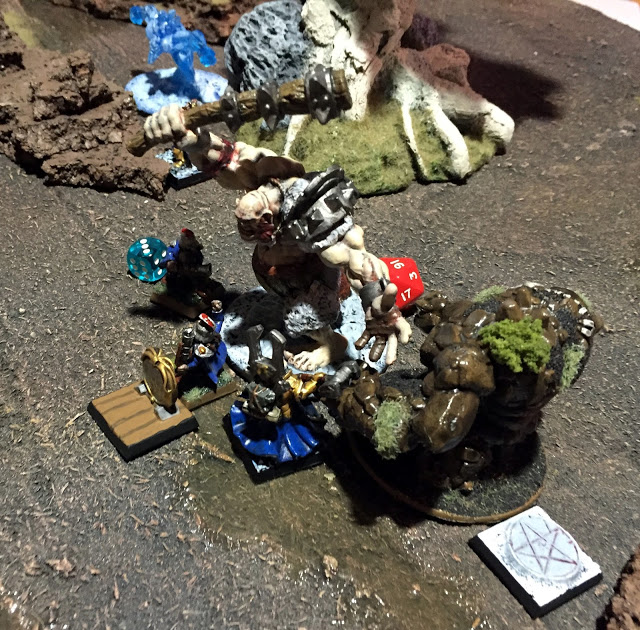 |
| Dave decides to take the Giant head-on. He piles in a large Construct, his Wizard, and two Crossbowmen. The Construct and a Crossbowman is carrying treasure with them. This round, Dave’s Wizard slams the Giant with a huge blow from his warhammer. The Giant, however, comes with a lot of hit-points and armour. |
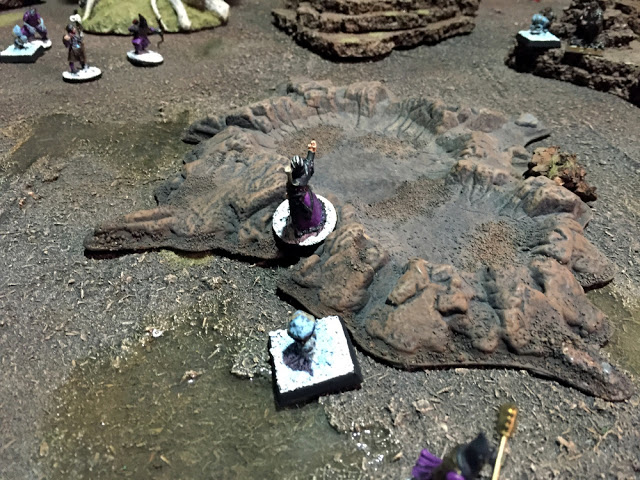 |
| My Wizard now takes a drink from the well and then retreats under the protection of his Templar. I have yet to pick up that treasure in the middle of the table. |
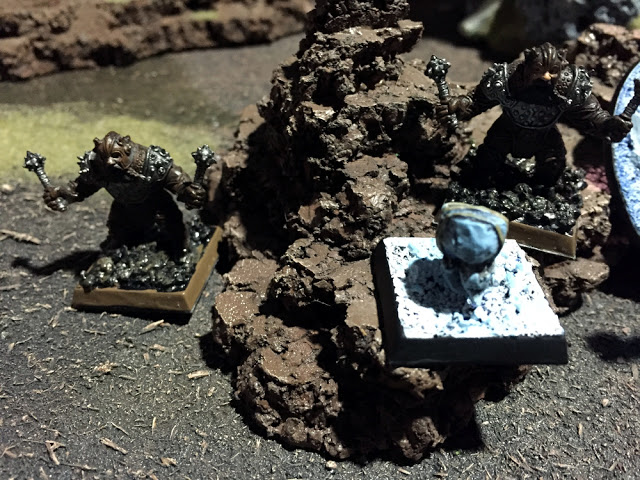 |
| Meanwhile, Dave’s Thugs pick up the last of the three treasures on this side of the table. |
 |
| My Ranger there decides to take a shot at the Giant to help out Dave’s crew; however, he missed and hit one of Dave’s men. His Thug decides he has had enough help from my Warband and charges in on my Ranger. |
 |
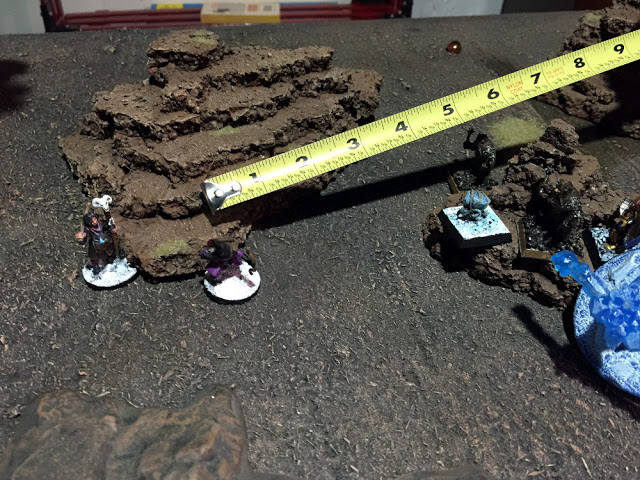
| A Ranger is a fairly good combatant, but my Apprentice is now feeling a little nervous. My guys don’t like to engage in combat if they can avoid it. They are all low armour, high speed units. |
 |
| The Ranger and Thug continue to dance and if I remember right, the Thug eventually takes out my Ranger. |
 |
| While the Thug dances with my Ranger, the Apprentice retreats towards my wizard. At the same time, my Marksman picks up the treasure by the well and I move my newly acquired Zombie forward. |
 |
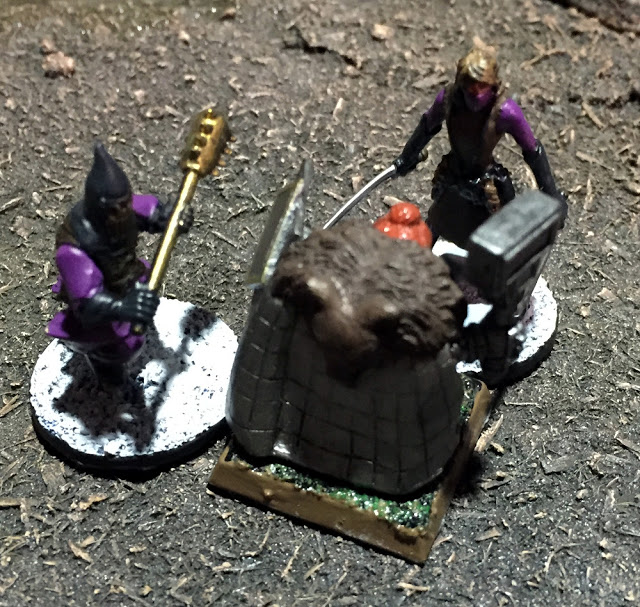
| My Captain (lady with two Swords) continues to move forward and fires a shot into the melee of the Giant and Dave’s Figures with a Bow. She calls the Giant as the target, but when you fire into melee, the target is actually determined randomly. She rolls a natural 20 but her randomly determined target is Dave’s Earth Construct. Sorry Dave!!! |
 |
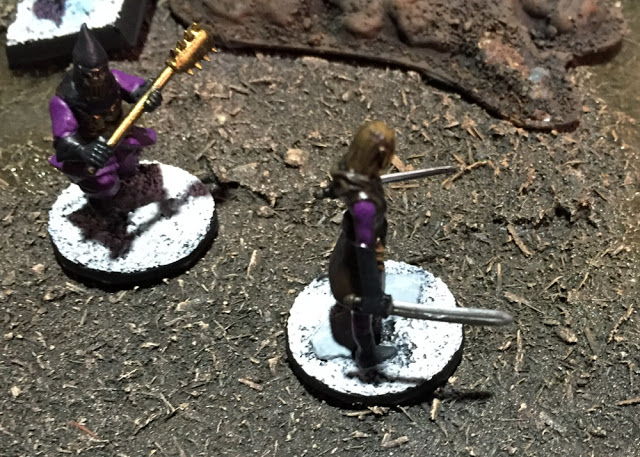
| Dave’s Knight does not appreciate this “help” coming from my Captain and charges in, against the odds, for combat. My Captain has a base fight skill of +3 (counting the two weapon bonus) and can get a +3 bonus to the die roll of one attack. She does this and wins the fight. The Knight is still alive so on my turn, the Templar piles in to give another bonus and the two take on the Knight. This Knight will not last the night. 🙂 |
 |
| Dave has been taking heavy casualties from the Giant (and his ever so helpful opponent). His Wizard moves back into the fight and together… |
 |
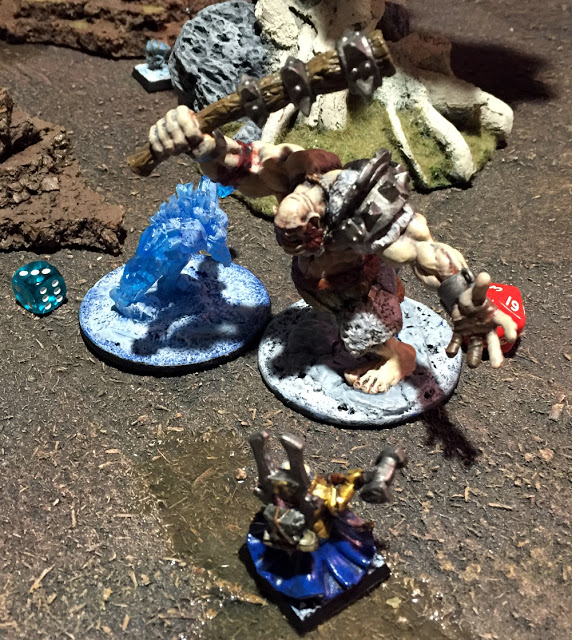
| His Wizard and Construct take out the Giant!!! That’s right, Dave has now earned the title of Giant Slayer!!! The killing blow actually came from his Construct, but his Wizard wouldn’t have gained experience for killing that Giant anyhow (one of the few rules in Frostgrave I don’t really agree with). To be honest, I think we would have house ruled some experience to Dave if the Wizard killed the Giant. Killing a Giant is no simple task! |
At this point, Dave conceded the game. He cleared what was left of his forces and took the two treasures he still possessed off the table with him. He rebuilt his Construct and re-hired band members to replace those that died. Using Embed Enchantment, he was able to come out of the game with a couple of +1 magical weapons on top of the treasures that he found.
My Wizard came away with 4 treasures and managed to gain three levels from the encounter. In the treasures, he found some grimores and a +2 hand-weapon. I gave that weapon to my Captain. She now has a +5 Fight stat and also gained a level.
Overall, this was a very fun game. I felt sorry for Dave in that he encountered such a tough random monster in his first game against me. I tried to help him by shooting arrows at the creature, but because he was engaged in Melee, my arrows aimed at the Giant actually ended up hitting his guys. In the next game, hopefully we will not encounter the Giant again.
Until next time, Happy Gaming Everyone!!!
[amazon_link asins=’B00WSRQSP4,1472805046,1472824016,1472818504,1472832671,1472816242,1472896270,1472824008,1472814096,1472817346′ template=’ProductCarousel’ store=’mustcontainmi-20′ marketplace=’US’ link_id=’40724625-87f8-11e8-a9b7-d5f8ec58e651′]